SHEET IRON ENGRAVING SHEET IRON ENGRAVING SHEET IRON ENGRAVING SHEET IRON ENGRAVING SHEET IRON ENGRAVING SHEET IRON ENGRAVING SHEET IRON
| Theme | Redox reactions |
| Category | Chemistry Experiments |
| Main products | Iron Plate -> see in Alquera.com, Copper Sulphate -> see in Alquera.com |
| Short description | One of the techniques of sheet metal etching is through an electrolytic bath of the steel piece in copper sulphate and salt. It is a complete experiment where the process is carried out through an oxidation-reduction (redox) reaction between iron and copper sulphate. It is a relatively simple experiment to do |
VIDEO EXPERIMENT
HOW TO ETCH A SHEET METAL WITH ELECTROLYTIC PLATING
IMP NOTE: Veneer engraving is a professional practice that requires an apprenticeship and experience. The process described in this experiment is only an approximation of a science experiment without the quality of a professional engraving process.
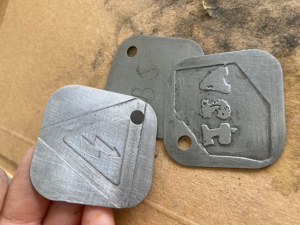
We are going to engrave an iron plate by introducing it into a solution of copper sulphate and salt. You can make any shape you want, depending on the time or artist you are.
First of all, apologies to the metal workers, as this experiment is only intended to teach the technique, but the artistic part in the design of the engraving is not very successful.
MATERIALS
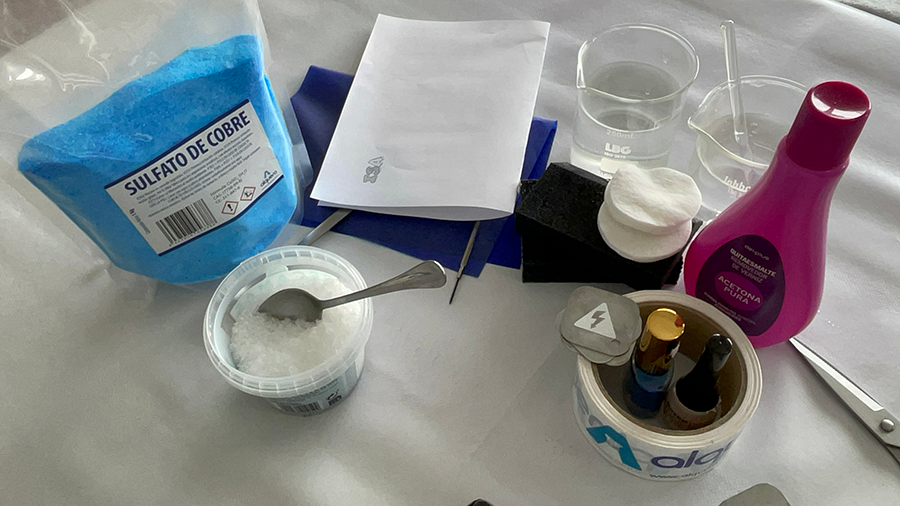
This is the complete list of materials needed to do the experiment:
1 - Sheet Iron or Steel (not stainless) -> Available from Alquera
2 - Copper Sulphate for dissolution - > Available from Alquera
3 - Wide packaging tape (to prepare the sheet metal)
4 - Nail polish and Acetone (to remove afterwards)
5 - Some stickers for the design you want on the badge.
6 - A square, pen, tracing paper and drawing elements to make the design. You can make a simple engraving from a single line to a very elaborate design, for which you will need many design elements.
7 - Common dissolving salt (sodium chloride)
STEP 0. UNDERSTANDING THE PROCESS
When people say "electrolytic bath", it may sound scary, but an electrolytic bath is nothing more than the dissolution of a salt in water.
In this case the solution will be copper sulphate and common salt (sodium chloride) in water.
By introducing iron (Faith) in the solution is going to produce a redox reaction (oxidation - reduction), in such a way that the part of the iron that touches the solution will lose thickness. In this way, if we cover part of the sheet, there is a part of the sheet that will lose thickness and another part that will not.
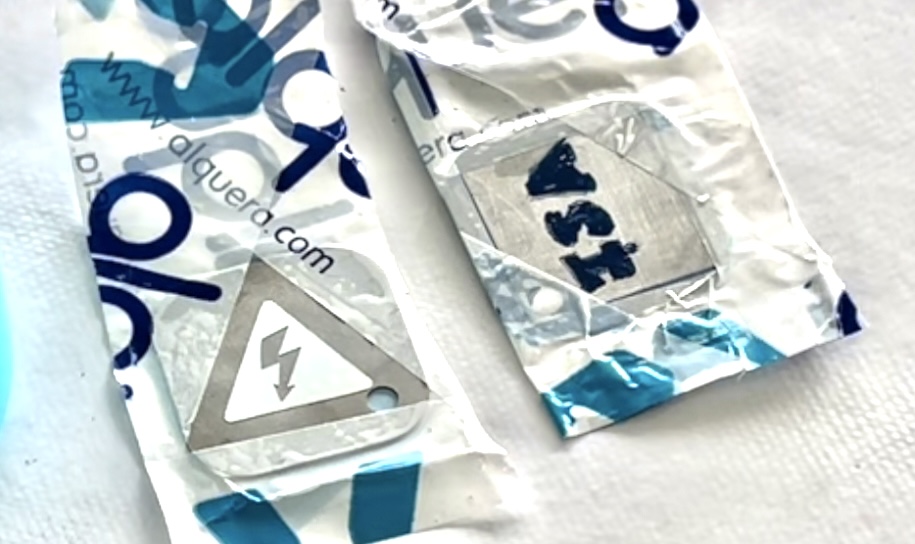
STEP 1. PREPARATION OF THE SHEET METAL.
The preparation of the sheet iron is the most artistic and time consuming part. You can do a very elaborate design or something simpler. In short, it is a matter of protecting some areas of the sheet metal and not others, in order to engrave the design of the protected areas.
You can protect the sheet with: nail varnish, packing tape. The nail polish will allow you to give more shapes to the drawing you want to make.
Some ideas for shaping would be: use tracing paper and transfer the drawing to the sheet, use stickers, stencil with the drawing you want to make.
The important thing to bear in mind is that the uncovered part will be lowered and the covered part will remain as it is.
Before applying the tape, enamel or stickers, the sheet metal should be sanded and cleaned with alcohol. As the sheet metal is made of iron, it should be sanded and cleaned with alcohol before applying tape, enamel or stickers.
t will probably have a thin layer of rust that can be removed with sandpaper.
STEP 2. PREPARATION OF THE SOLUTION
The solution we are going to use is a solution of copper sulphate and sodium chloride (common salt). The amount does not have to be exact, the important thing is that there is enough copper in the solution for the reaction to take place. The salt will accelerate the reaction.
In a 250ml glass of water, put 2 tablespoons of copper sulphate and 1 tablespoon of common salt.
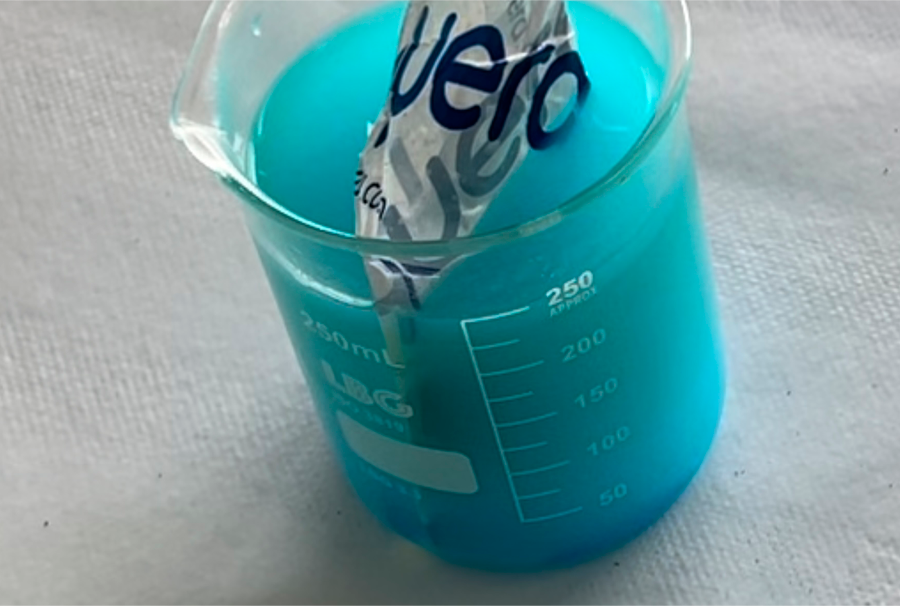
STEP 3. WE INTRODUCE THE SHEET INTO THE SOLUTION
Once we have the solution and the plate ready, we introduce it.
In a few minutes you will see that a layer of copper will form on top of the layer. This thin layer is visible because it has a reddish colour and can be removed with cotton wool (use gloves).
STEP 4. ALLOW TO REST FOR 4-5 HOURS
The longer you leave the sheet in the solution, the more the design you have marked will be etched.
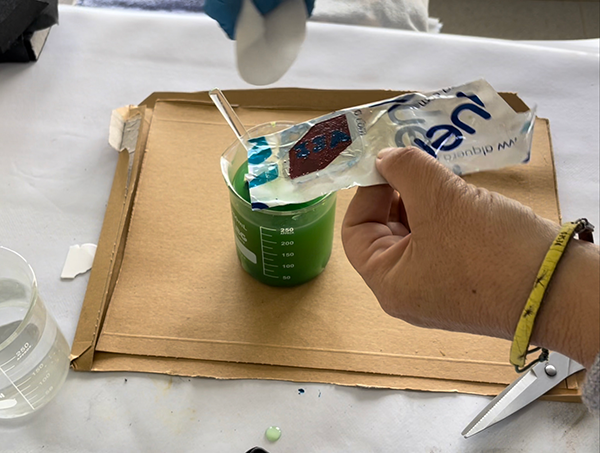
STEP 5. REMOVE SHEET METAL, SAND AND CLEAN
After about 4-5 hours, you can remove the plates from the solution. Put them in a glass of water and then remove the ribbons, enamel and copper residues with a cotton wool or paper.
To get a better finish, they need to be sanded, from a coarser to a finer grit sandpaper. As we have said, the design of ours is not professional, but it is a sample of what can be achieved with the process.
TECHNICAL EXPLANATION
Redox reaction. This experiment shows a practical application of an oxidation-reduction reaction.
Normally when iron rusts, it is oxidised by oxygen in the air, depositing a layer of Fe2O3 (iron oxide) on the iron. This is commonly known as rust. In this case, instead of the iron being oxidised with oxygen, it will be oxidised with the copper ion, and a molecule will not be formed like iron oxide, but the iron ion formed in the oxidation will be dissolved into the solution.
On the other hand, the copper ion Cu2+ of the sulphate will be reduced to copper Cu. This can be seen by a thin red layer deposited on the iron. This layer is not fixed and can be easily removed from the plate.
The reactions that are therefore taking place are:
3Cu2+ -> Cu
2Fe -> Fe3+